How to add descriptions to images in Gmedia
Gmedia is a plugin for WordPress websites. If you have a Gmedia gallery setup and you want to add a description for your images follow these steps.
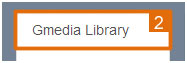
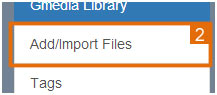
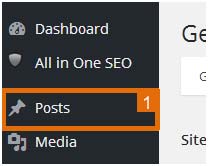
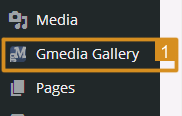
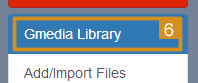
![]() Click on Gmedia Gallery in the sidebar.
Click on Gmedia Gallery in the sidebar.
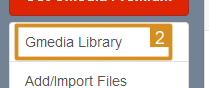
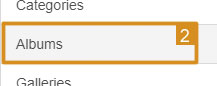
![]() Click on Albums.
Click on Albums.
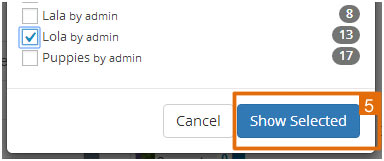
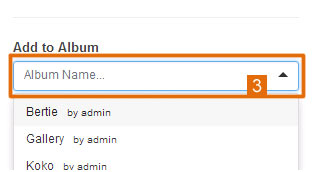
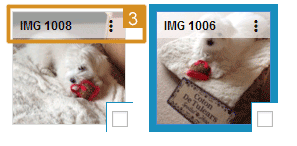
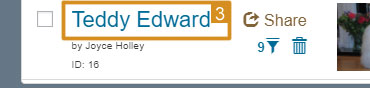
![]() Select the album you want to edit by click on the albums name.
Select the album you want to edit by click on the albums name.
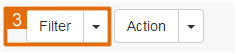
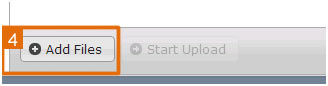
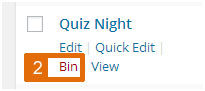
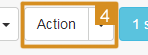
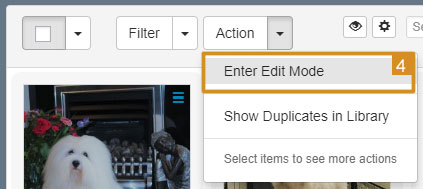
![]() Scroll down the page a bit until you get to the box with the images. Click the drop-down to the box that says Action and click Enter Edit Mode.
Scroll down the page a bit until you get to the box with the images. Click the drop-down to the box that says Action and click Enter Edit Mode.
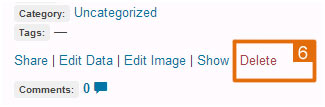
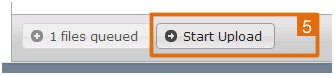
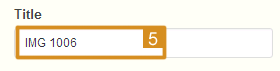
![]() Here you can edit the title of all the images in the album by editing the Title box. It is recommended to have something here to explain the image.
Here you can edit the title of all the images in the album by editing the Title box. It is recommended to have something here to explain the image.
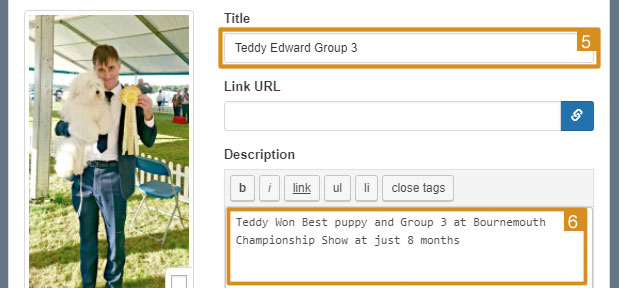
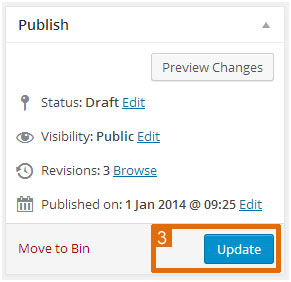
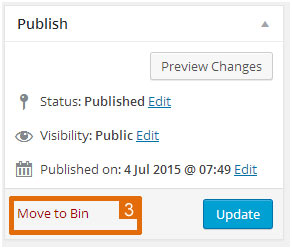
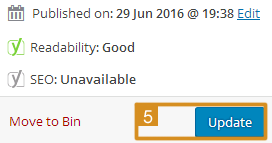
![]() For an additional description add text to the Description box. This is optional. The result below is what will be shown on the web page.
For an additional description add text to the Description box. This is optional. The result below is what will be shown on the web page.