How to edit a post or page in WordPress
It’s important to keep your website up to date to keep your visitors coming back. Here is an easy way to update your web page.
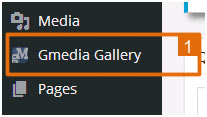
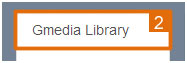
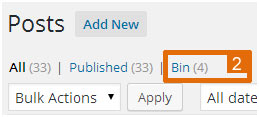
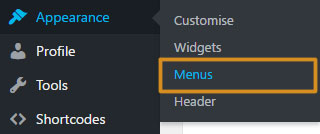
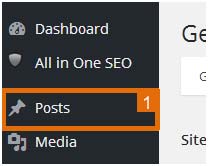
 Select Posts or Pages in the sidebar.
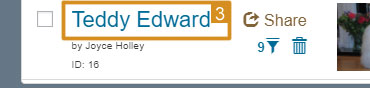
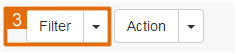
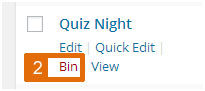
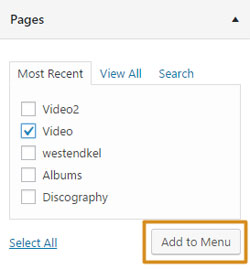
 On the list of post/pages find the one you wish to edit. Click on the edit option.

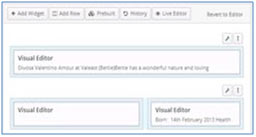
There are two styles of pages and the way that you edit them is different for both. If your page looks like the left, continue the steps. If your page looks like the right (with lots of boxes), jump to step 7.
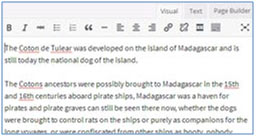
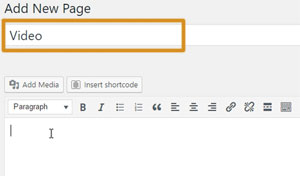
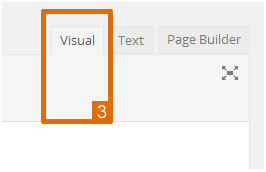
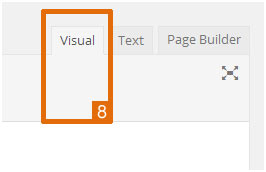
 Make sure the Visual tab is selected for easier editing.
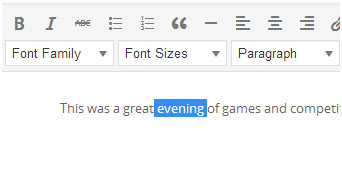
 Make any changes to the text.

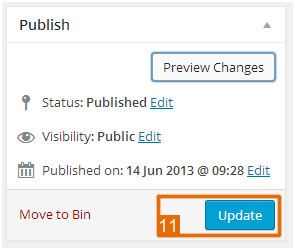
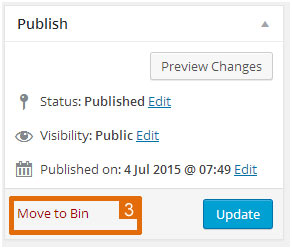
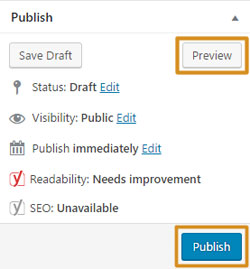
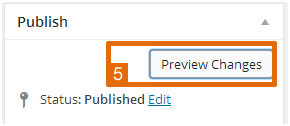
 If you wish to preview the changes before the page goes live, click the Preview Changes button. The page will open in another window for you to view.
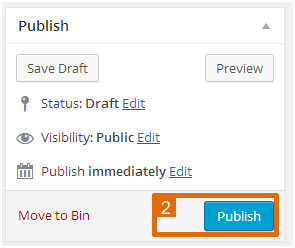
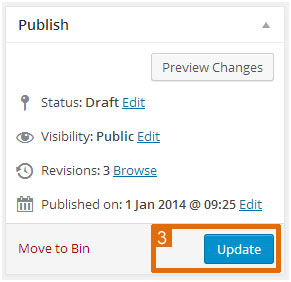
 Once you’re happy with the changes. Click the Update button. Your work will be saved and published to your website.

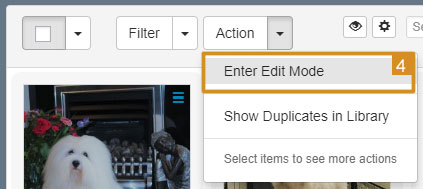
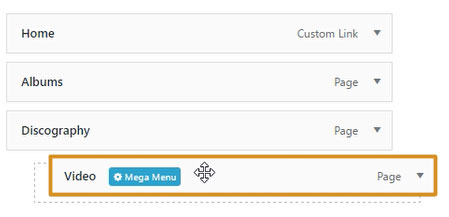
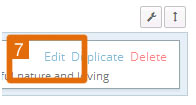
 If your page is laid out into blocks, you need to edit the blocks separately. To edit a block hover your mouse over the block and when you see the word edit in the corner click it.
 Make sure the Visual tab is selected for easier editing.
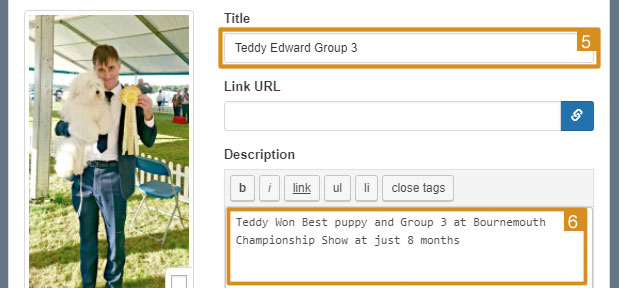
 Make any changes to the text.
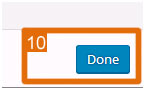
 Click Done on the bottom right-hand corner.
 Make any changes to the rest of the boxes in the same way. Once you’re happy with the changes click the Update button. Your work will be saved and published to your website.